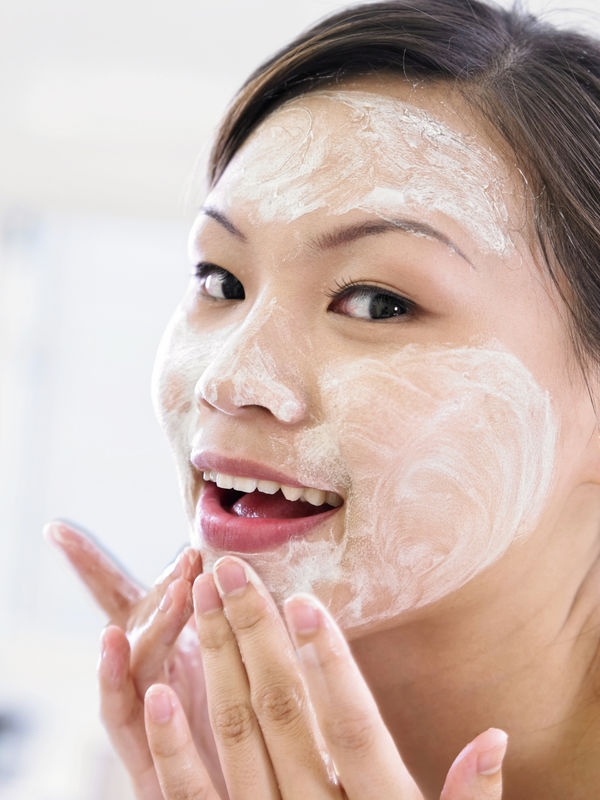
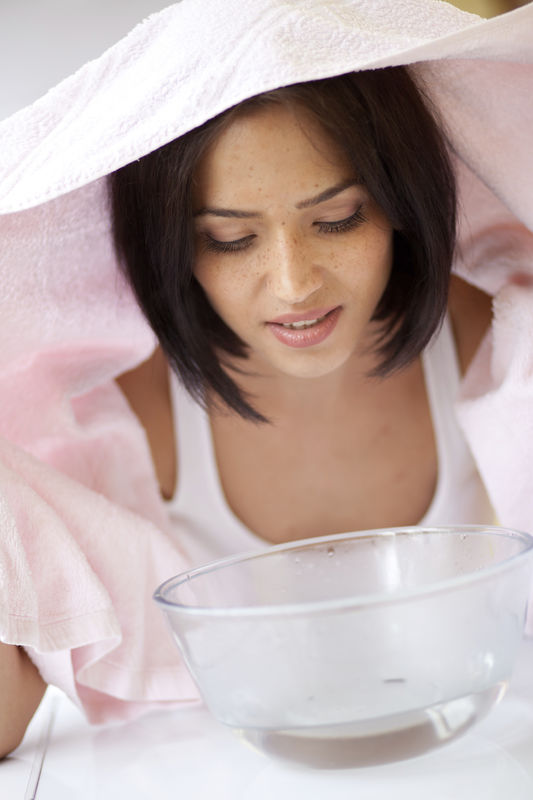
Step one: Cleanse.You have to start off with a blank canvas. Use a cleanser to free your face of makeup, dirt and pollution. For a complete facial, you need to get rid of surface debris to allow products to penetrate easily, Step two: Exfoliate.Face feeling dry and rough? It's time to exfoliate — but not all exfoliators are created equal. "Choose a gentle buff or an enzyme peel to slough off dead skin cells, unclog pores and improve texture. Don’t rub skin raw — a physical exfoliant (like a textured scrub) will work after two to three minutes." Step 3: Steam.No, you don't need a special tool for this vital step. "This step opens the pores to release impurities and toxins that build up on the surface of your skin. And doing it at home is super-easy. Run a washcloth under hot water, wring it out and drape it over your face for a few minutes. You can also boil water and remove from the stove, position your face about eight inches over the water, and place a towel over your head to capture the steam. Add an essential oil like lavender or eucalyptus to the water for added aromatherapy benefits. Step 4: Mask.Choose a mask that addresses your skin needs. You can find products that will treat most concerns. And masking properly? Let's just say it's the perfect way to spend a weekend. Apply the mask and relax for 15-20 minutes. Place a couple of chilled cucumber slices over your eyes, take deep breaths, and let go of stress. Step 5: Hydrate.Once you've cleansed, scrubbed, and masked your way to glow-y beauty, finish your DIY facial with a major dose of moisture. "Finish your treatment with a good moisturizer or a hydrating serum to help maintain a healthy skin barrier and promote a radiant complexion,"
Source from http://www.revelist.com
0 Comments
|
Details
Archives
February 2024
|
Copyright © Pure Element | Singapore Since 2007 | Privacy policy | Unsubscribe | Pdpa form | Fat Freeze consent form | All rights reserved
Service packages & products SOLD are non-refundable & exchangeable. First trial services/membership services discount are for Singaporean/PR or work permit holder only. All treatments result are not guaranteed, it's up to individual's recovery and different skin react differently. Pure Element is not responsible for any touch up, sensitivity or side effects after the treatment. But we'll be there to advise you on what to do and make changes to your treatment if it's necessary. You'll never be alone. We'll always be there for you. Please check and make sure everything is good before you leave.
Service packages & products SOLD are non-refundable & exchangeable. First trial services/membership services discount are for Singaporean/PR or work permit holder only. All treatments result are not guaranteed, it's up to individual's recovery and different skin react differently. Pure Element is not responsible for any touch up, sensitivity or side effects after the treatment. But we'll be there to advise you on what to do and make changes to your treatment if it's necessary. You'll never be alone. We'll always be there for you. Please check and make sure everything is good before you leave.


